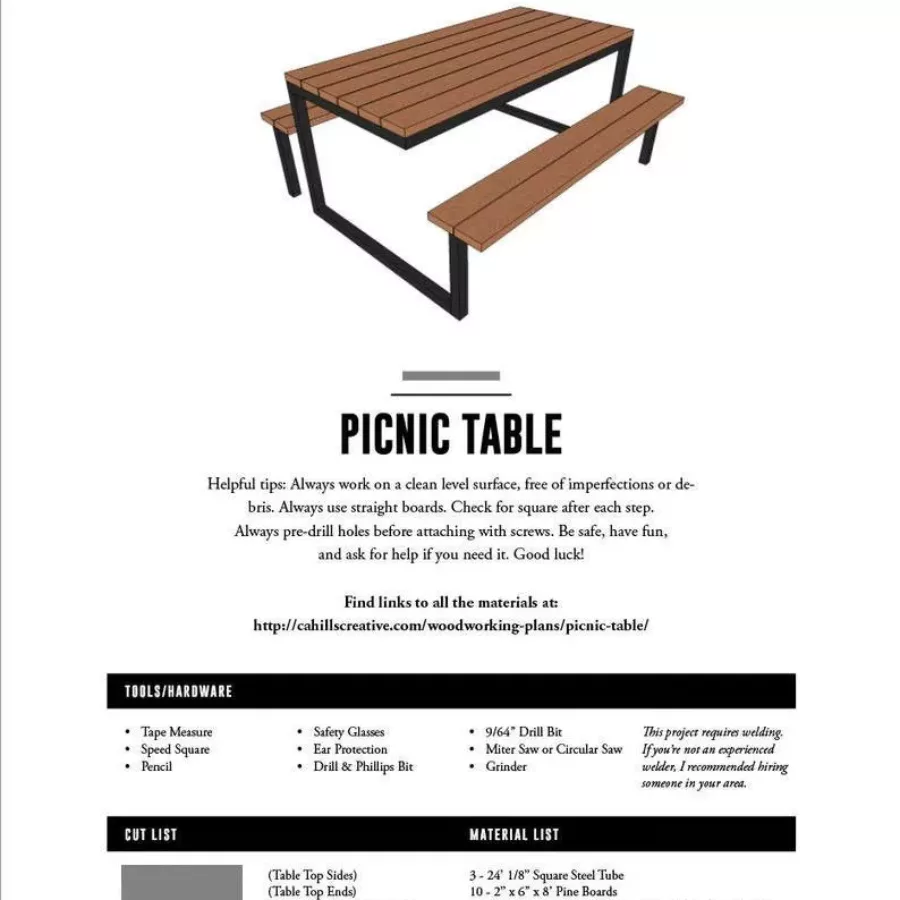
Modern Industrial Picnic Table Plans
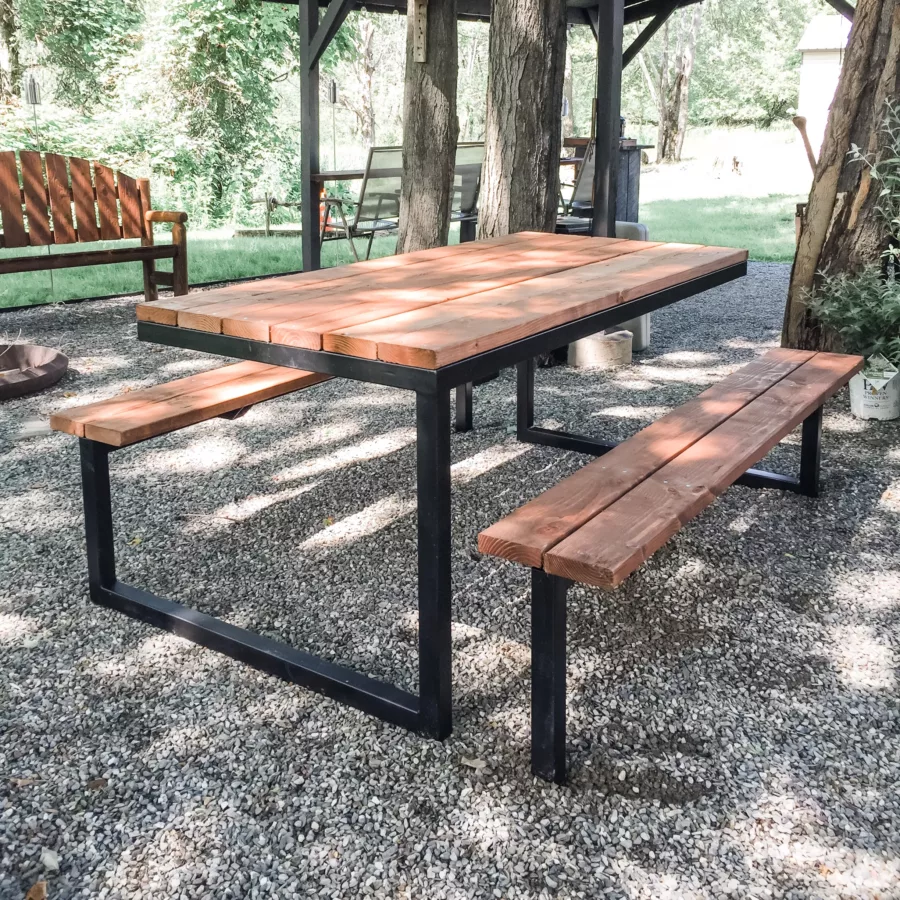
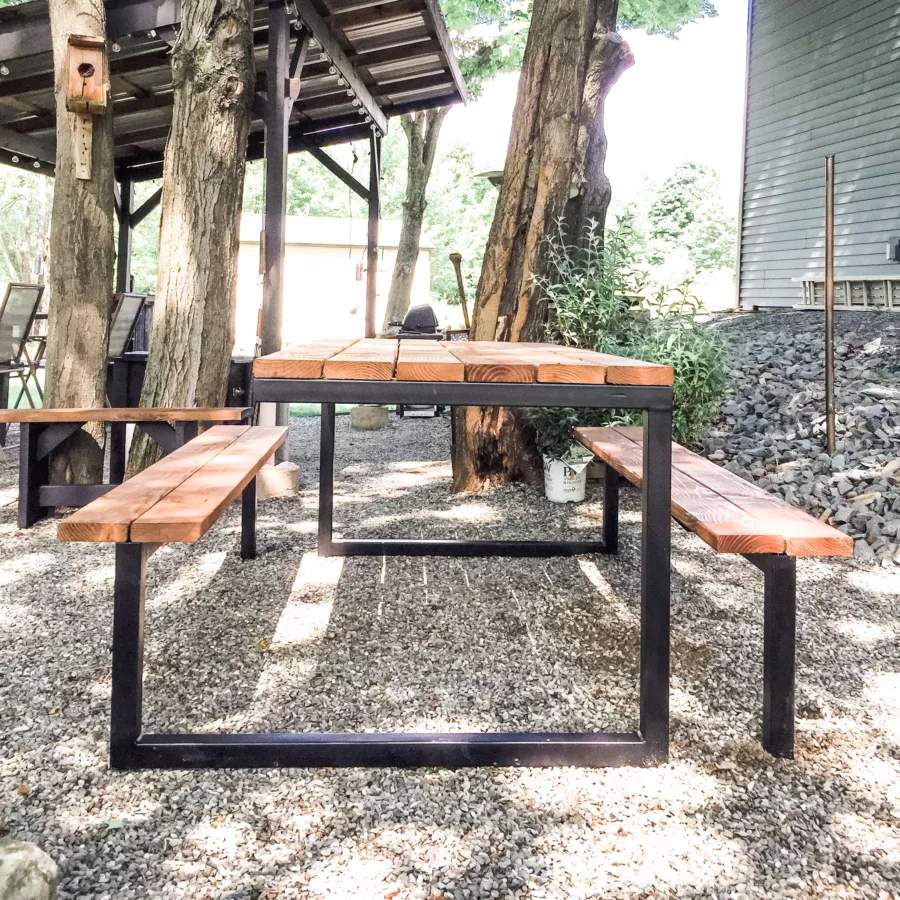
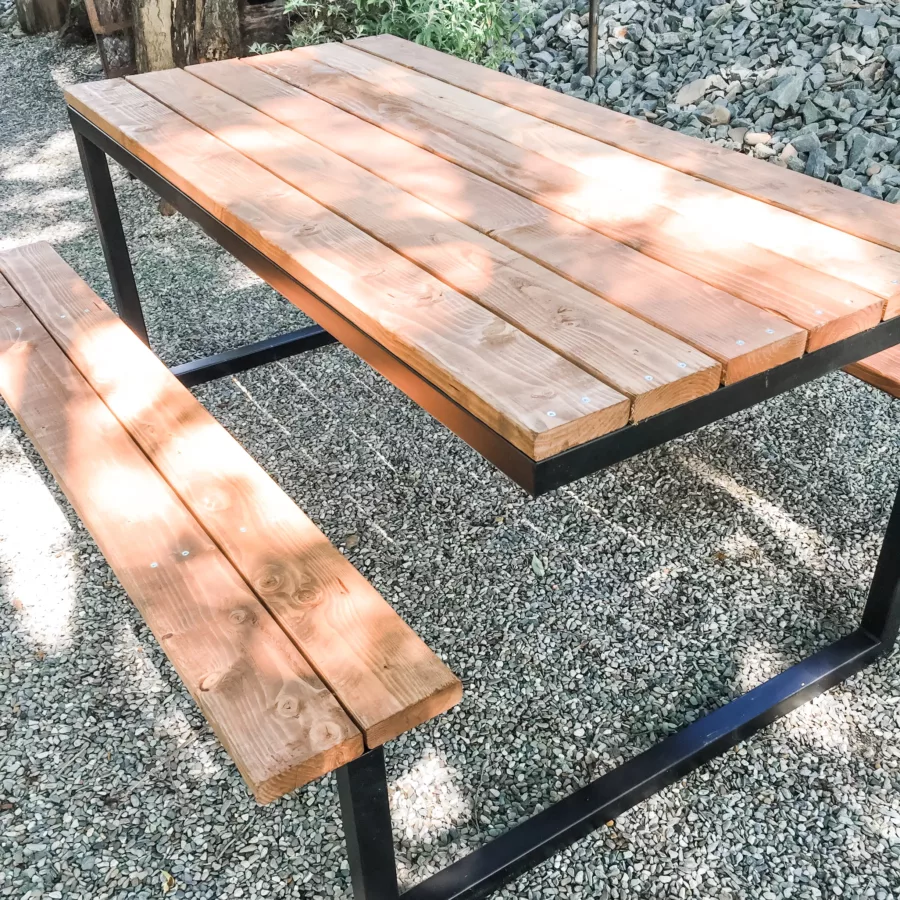
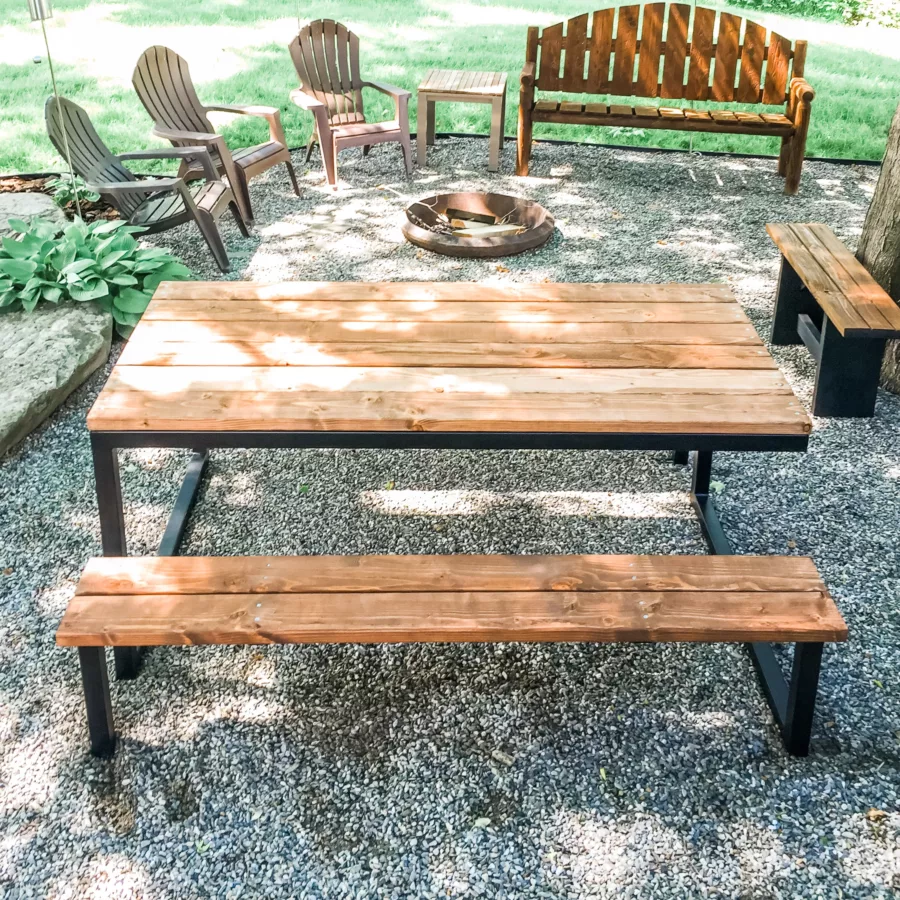
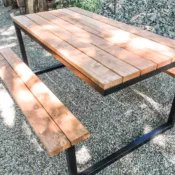
This modern industrial picnic table is perfect for any outdoor gathering! It's sturdy and stylish, and it's easy to build with our detailed plans. The shopping list includes all of the materials you'll need, and the cut list makes it easy to get started. Assembly directions are included, along with dimensions, so you can be sure your table will fit perfectly in your space. Let's get building!
The overall dimensions of the picnic table are 34 1/4” W x 72” L x 32 1/2” H for the table section and 11 3/16" W x 72"L x 19 1/2"H for the benches.
Instant Download: Your files will be available to download once payment is confirmed. You may download, save, and print as many times as you'd like, but please do not redistribute. For digital downloads, I don't accept returns, exchanges, or cancellations.
What You'll Receive
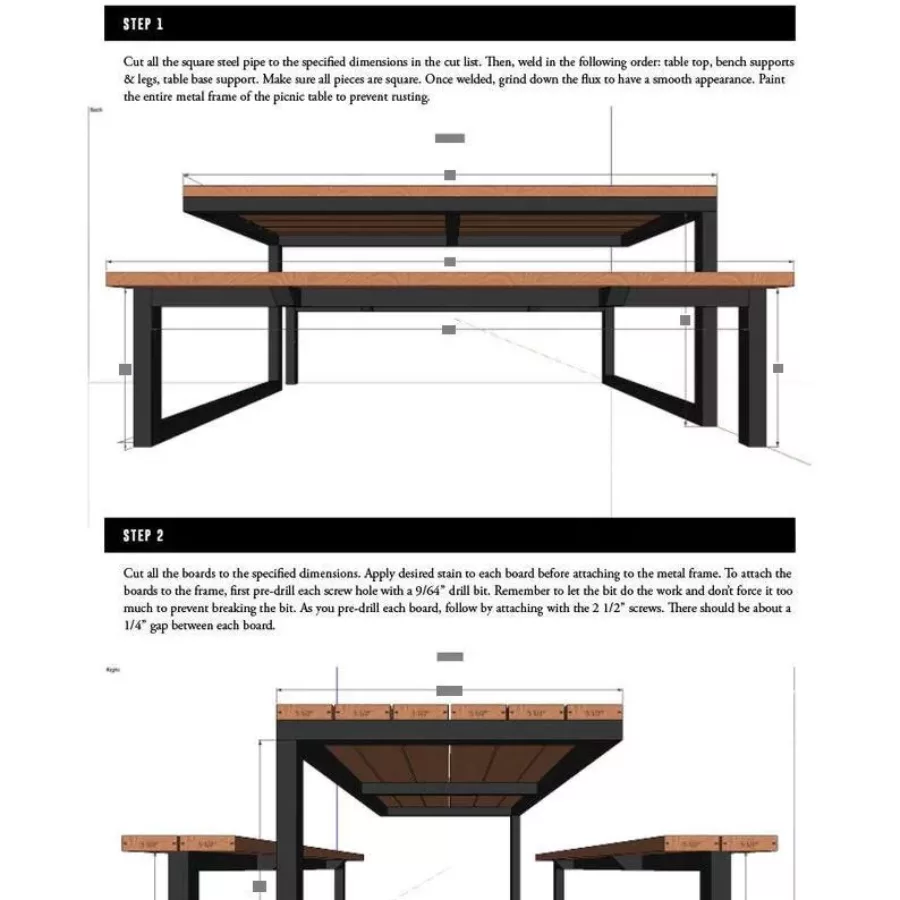
The printable PDF covers all necessary tools, cutting info, and step-by-step directions for a successful build. Plus, you’ll receive access to the exact materials needed so there’s no guesswork when gathering supplies – giving you peace of mind that this project is achievable from start to finish.
Tools/Supplies Required
Get the perfect build with these carefully curated tools and supplies! Don’t worry if you don’t have a certain item, click the link below to get what you need quickly.
- Tape Measure
- Speed Square
- Pencil
- Safety Glasses
- Ear Protection
- Drill
- Miter Saw
- Phillips Bit
- 9/64” Drill Bit
- Grinder
*This project requires welding. If you’re not an experienced welder, I recommended hiring someone in your area.
Material List
| Item | Description | Quantity |
|---|---|---|
| 24’ x 2″ x 2″ x 1/8” Square Steel Tube | 3 | |
| 2” x 6” x 8’ | Order here | 10 |
| #10 x 2 1/2” Flat Head Phillips Sheet Metal Screw (50ct) | Order here | 1 |
| 9/64” Drill Bit | Order here | 1 |
| Flat Black Spray Paint | Order here | ~3-4 |
| Wood Stain | Order here | 1 quart |
Terms of Use
All plans are The Happy Glamper Co. originals and copyright protected. This file is for PERSONAL use only. It shall not be shared, sold, or distributed commercially without my permission.