How to Paint an RV Exterior
Project
Room
Cost
Skill Level
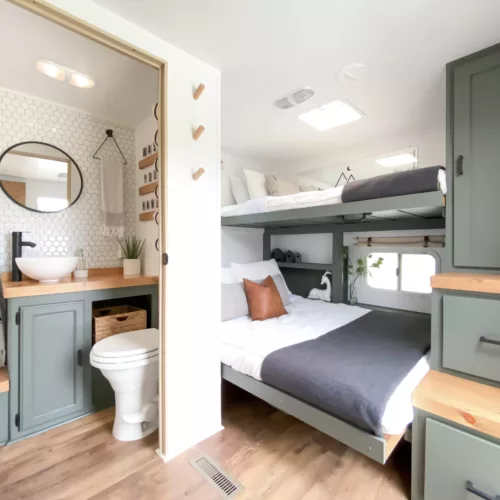
Is your vintage camper (or even your new camper) in need of a paint job? Give your RV a new lease on life with an exterior paint job. Follow these step-by-step instructions on how to paint your RV exterior.
Whether your RV is a pop-up camper, travel trailer, fifth-wheel, or motorhome, this guide will help you. Included is the prep work required before you start painting, how to remove the decals, and how to paint clean lines. Plus, we share top product recommendations so your camper comes out looking fresh.
Tools & Supplies
Shopping List
How much paint do you need?
For reference, I used 4 quarts (1 gallon) of base color to paint roughly 1/3 of a 26′ camper. That aligns with the estimated 1.5–2 gallons needed for full coverage. This included 2–3 coats using a sprayer, with some overlap and typical overspray waste.
Below is a general estimate of how much paint you’ll need to cover the entire exterior of your RV.
| Camper Length | Estimated Surface Area (sq ft) | Base Color Needed | Primer Needed | Clear Coat Needed |
|---|---|---|---|---|
| 16–20 ft | 250–300 sq ft | 1 gallon | 1 gallon | 1 gallon |
| 21–25 ft | 300–375 sq ft | 1–1.25 gallons | 1–1.25 gallons | 1–1.25 gallons |
| 26–30 ft | 375–450 sq ft | 1.5 gallons | 1.5 gallons | 1.5 gallons |
| 31–35 ft | 450–525 sq ft | 1.5–2 gallons | 1.5–2 gallons | 1.5–2 gallons |
| 36–40 ft | 525–600+ sq ft | 2–2.25 gallons | 2–2.25 gallons | 2–2.25 gallons |
Instructions: How to Paint an RV
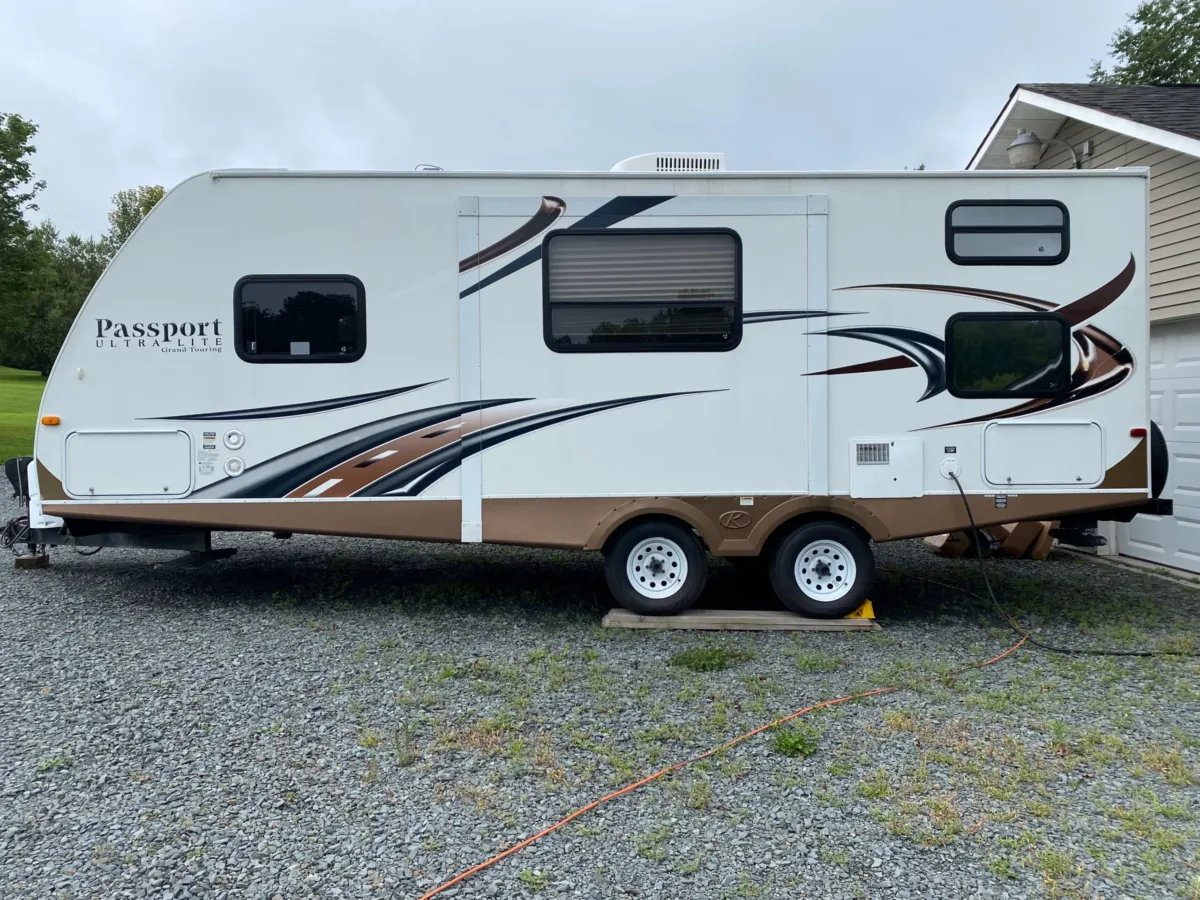
Over the years, we have successfully renovated three travel trailers top to bottom and including the exteriors. To give both rigs a fresh new look, this is the exterior painting technique that we recommend.
Want to check out both renovations? Here is the 2007 Keystone Hornet and the 2005 Keystone Hornet.
Here is how to paint your RV’s exterior.
Step
Wash
Start by giving your RV a good wash to remove any dirt, dust, or road grime. Use warm water mixed with a mild RV-safe soap or degreaser, and scrub the surface gently with a soft brush or microfiber cloth.
Make sure to rinse thoroughly so no soap or residue is left behind. Then, let the RV dry completely before moving on to the next step—this helps your tape stick better and prevents moisture from getting trapped under paint.
Step
Remove Decals
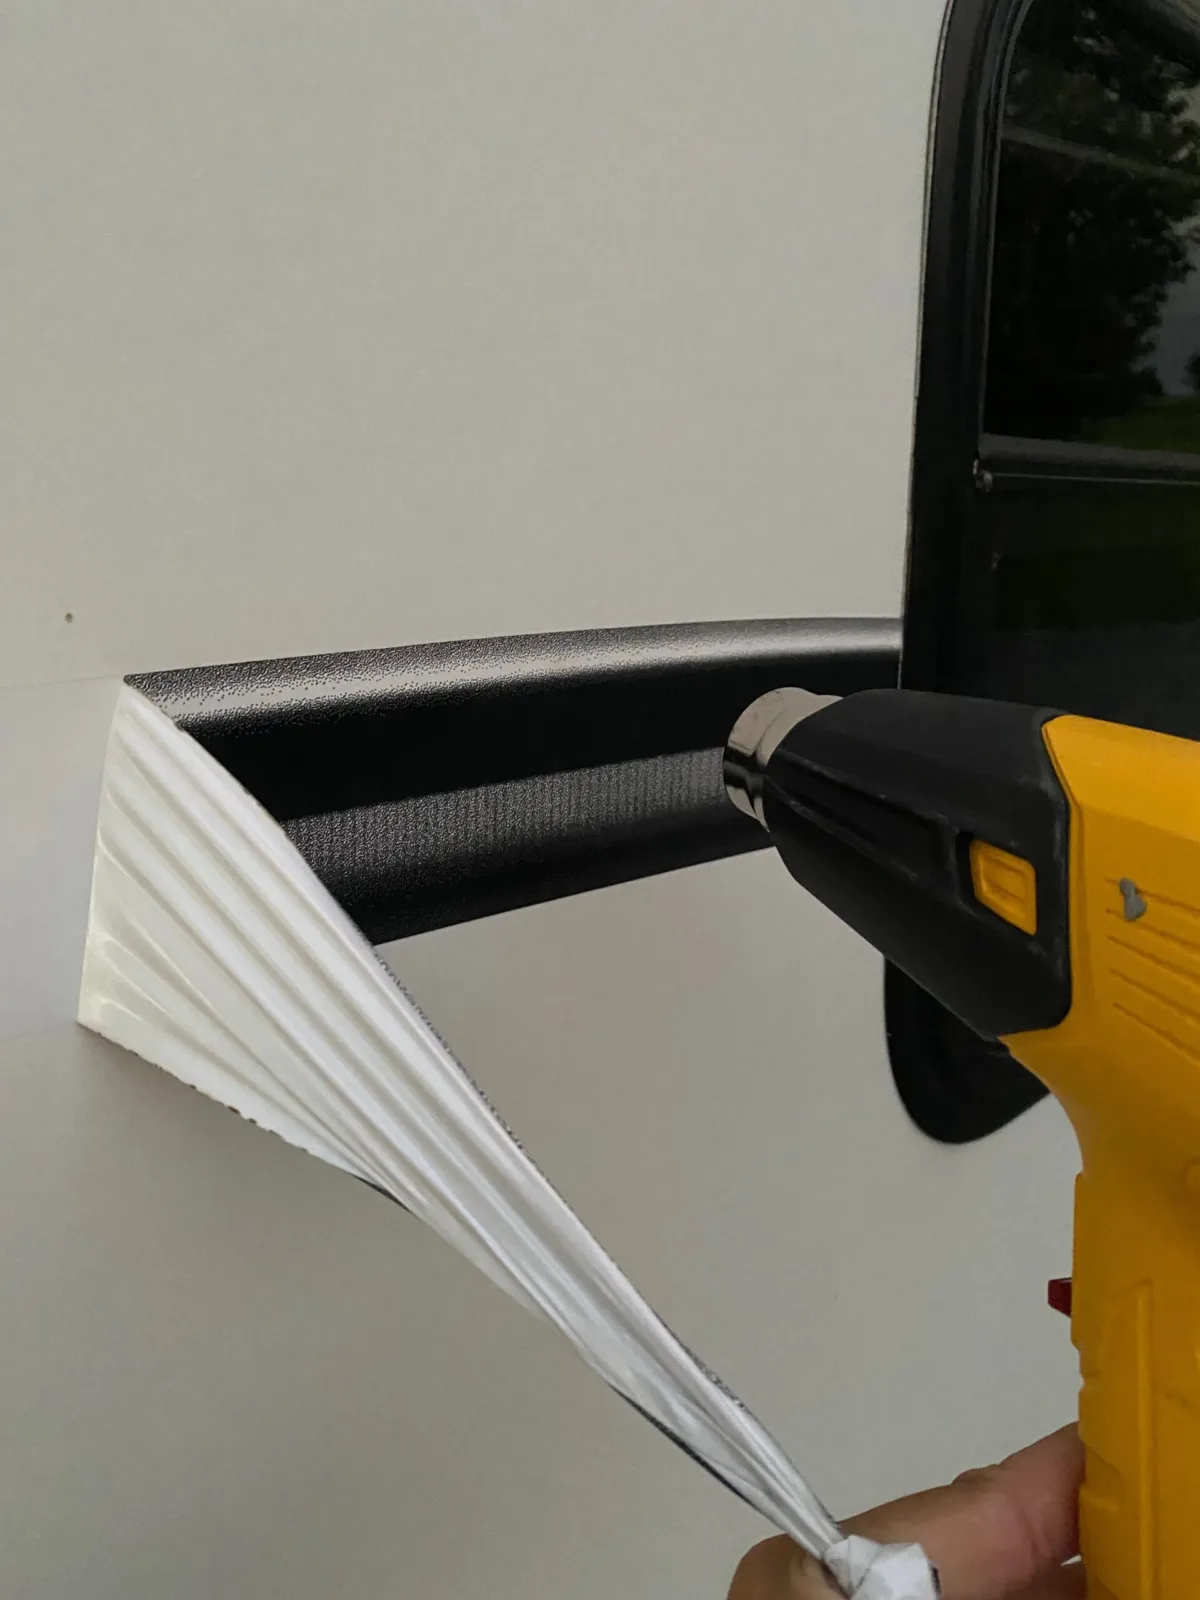
Never paint over decals—they’ll cause the paint to peel and leave behind an uneven finish. If you’re painting over an area with decals, they need to come off first.
How to Remove RV Decals:
-
Loosen the adhesive
Use a heat gun to gently warm the vinyl. This softens the adhesive and makes removal easier. -
Peel the decal by hand
Start at one corner and slowly pull it off. A 3M decal remover tool can be a huge help—especially for old, sun-faded decals that are brittle or stuck on tight. -
Remove leftover residue
Wipe off any sticky residue with a cloth and Goof Off, an adhesive remover, or even orange essential oil (which works surprisingly well!).
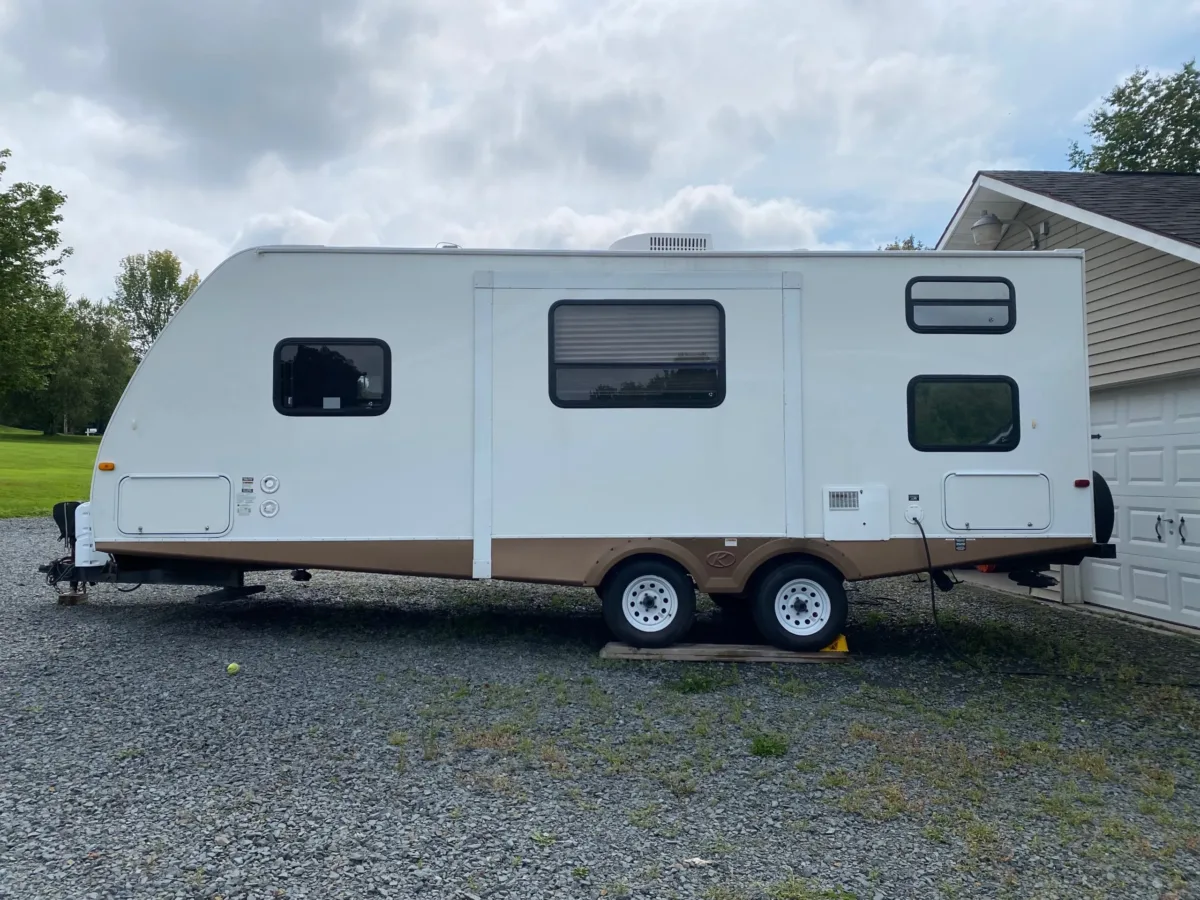
Make sure the surface is clean and smooth before moving on to the next step.
Step
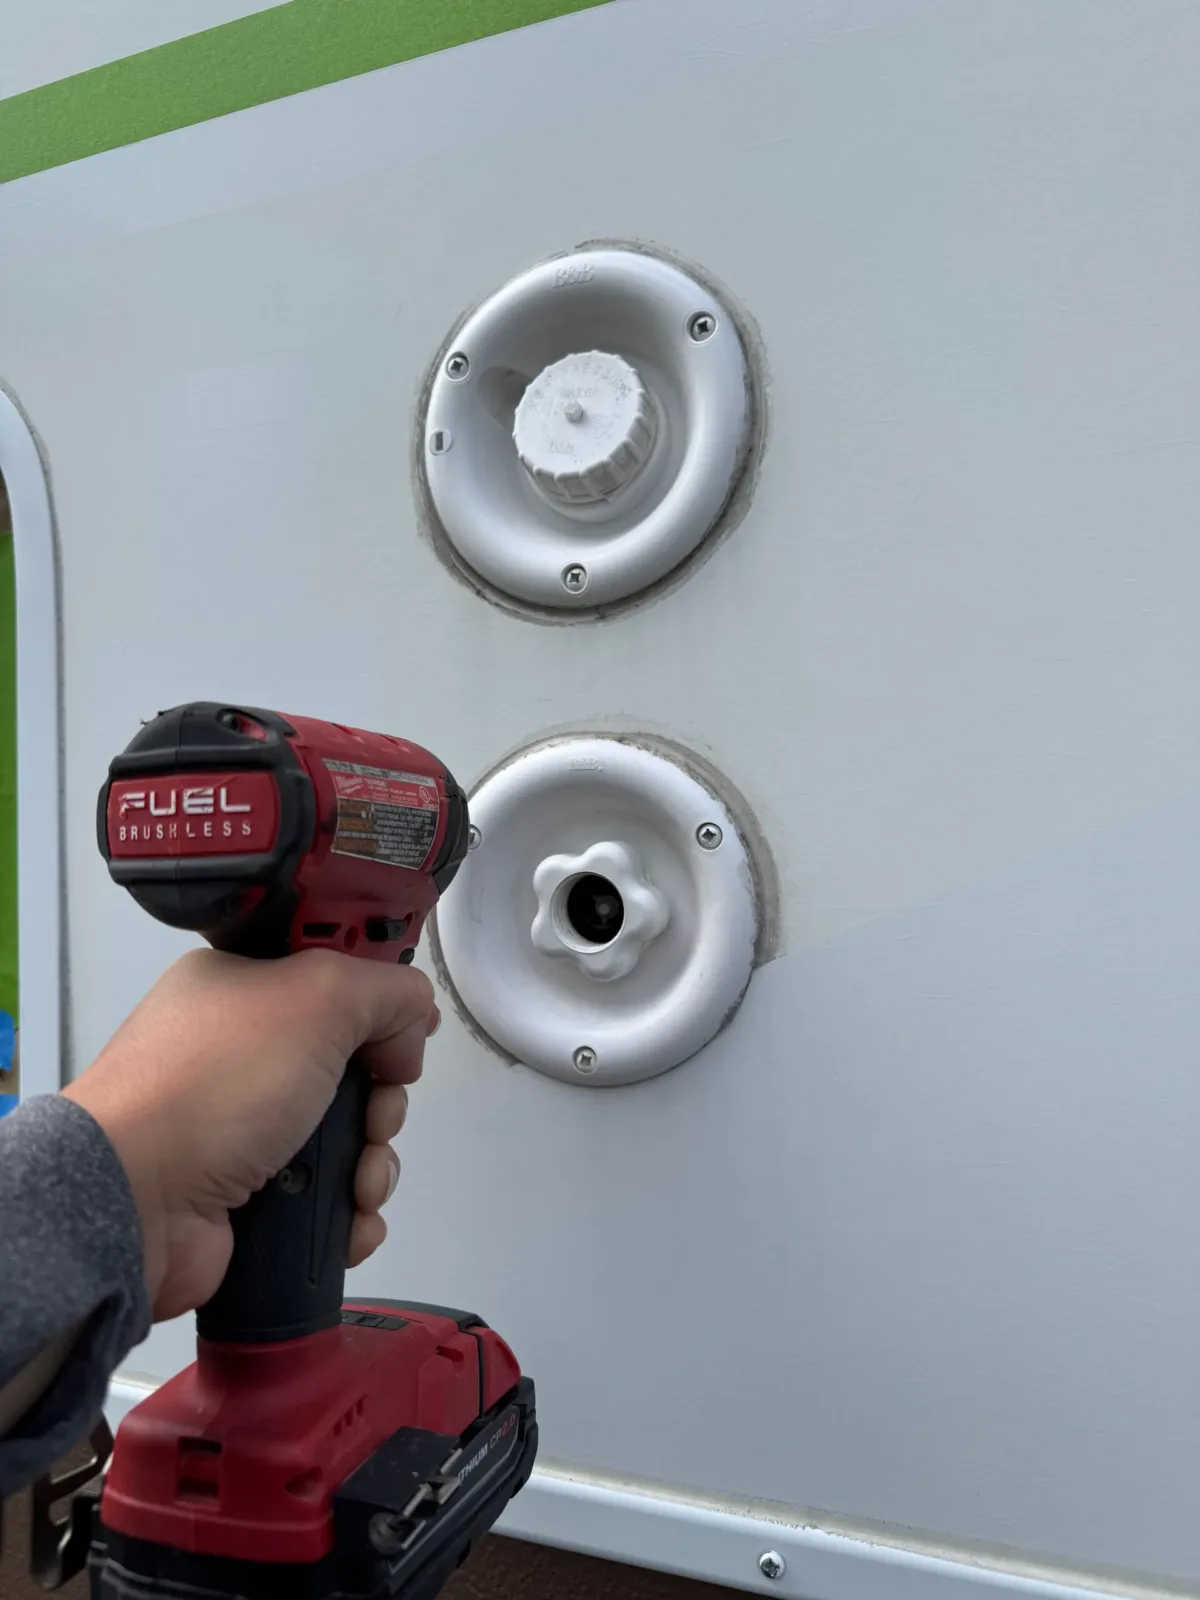
Remove Accessories
Before you paint, it’s a great idea to remove any plastic fixtures or trim pieces—especially if your RV is older. Over time, parts like water fills, vent covers, and cord access panels can become faded, brittle, or cracked from sun exposure. This is a perfect time to replace them with factory-style replacements (you can find plenty at RecPro).
I also recommend removing the storage hatch doors and painting them separately. This gives you better access to edges and hard-to-reach spots for a cleaner, more professional finish.
-
To remove the hatch doors, just unscrew one end of the hinge and slide the door out.
-
Peel off any old foam gasket from the frame, and once everything is painted and dry, replace it with a fresh gasket for a tighter seal and a polished look.

Step
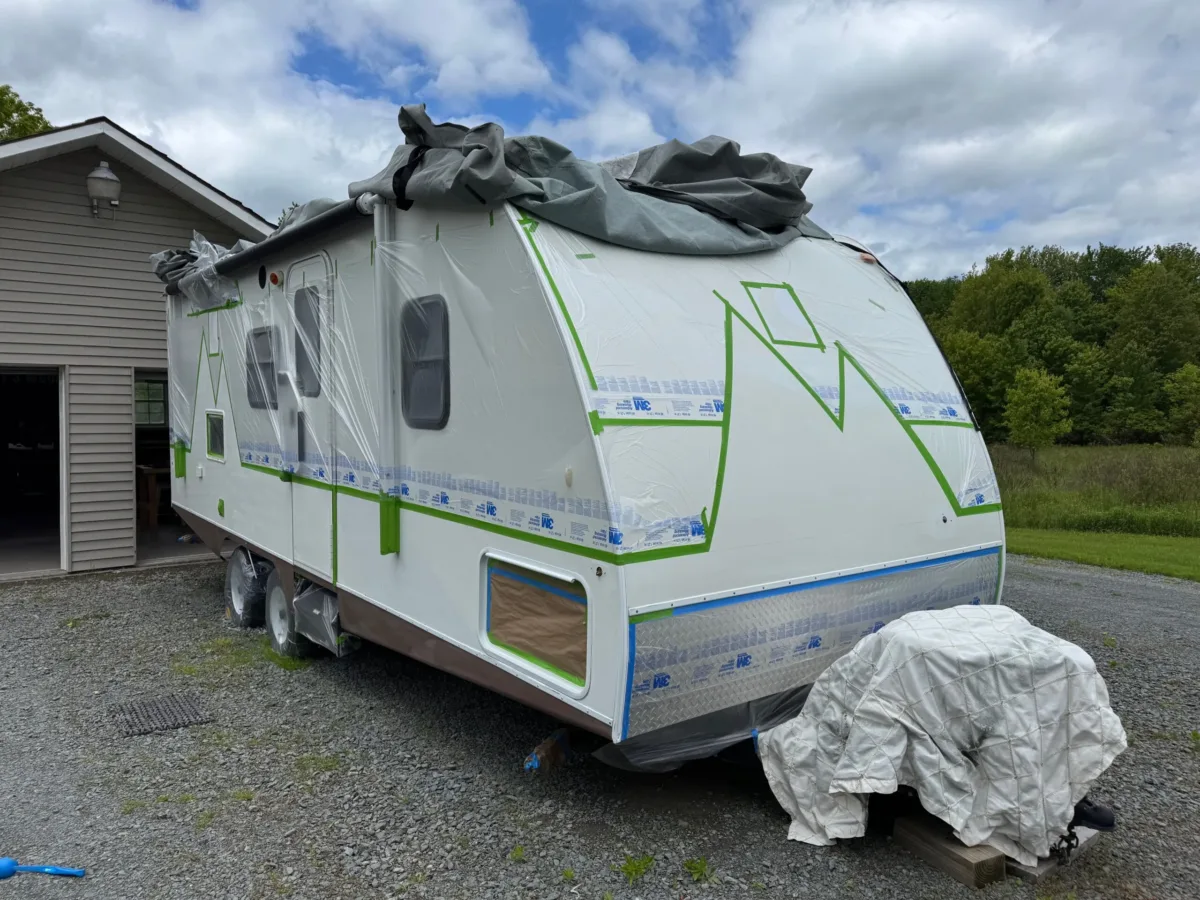
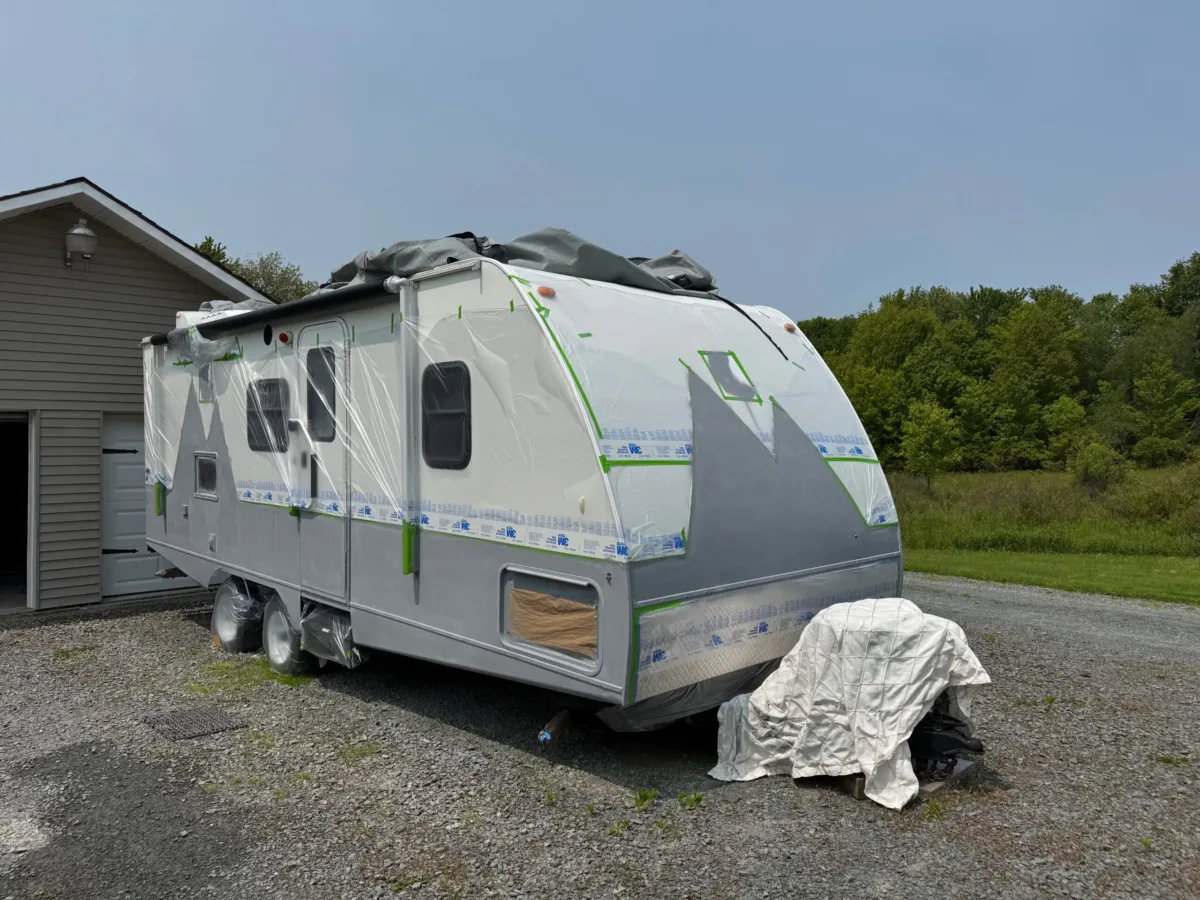
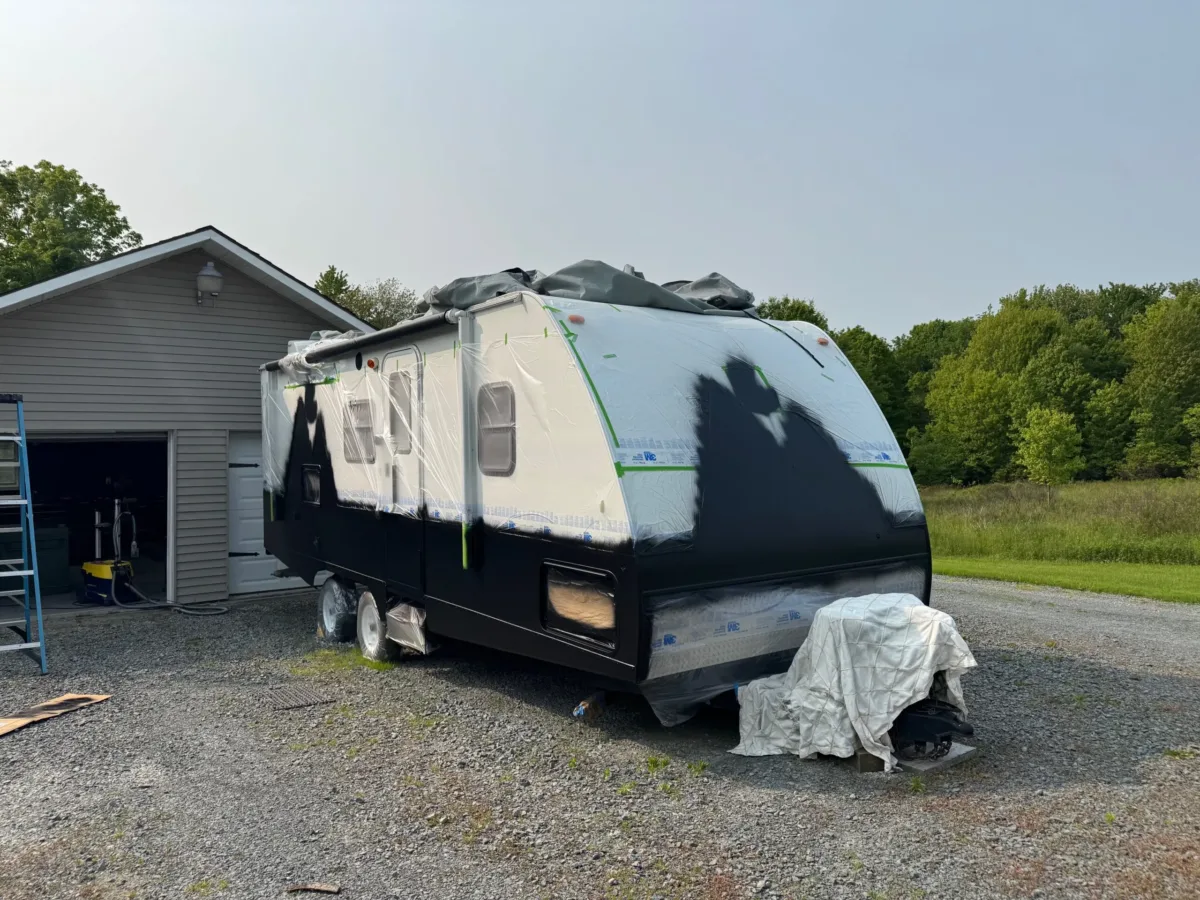
Mask
Just like when painting the interior of your RV or your home, you’ll want to tape off anything you don’t want paint on—like windows, lights, trim, door handles, vents, and any accessories you couldn’t remove.
To make this step quicker and more precise, I highly recommend using a 3M Hand-Masker. It lets you apply painter’s tape and masking film together, which saves time and helps you get clean, straight lines.
Use masking film to cover larger areas and protect them from overspray. Press the edges down firmly—especially around seams and hardware—to keep paint from sneaking underneath.
Tip: If you’re removing parts like vent covers or light fixtures, snap a quick photo before taking them off. It’ll make reinstalling them later much easier!
Step
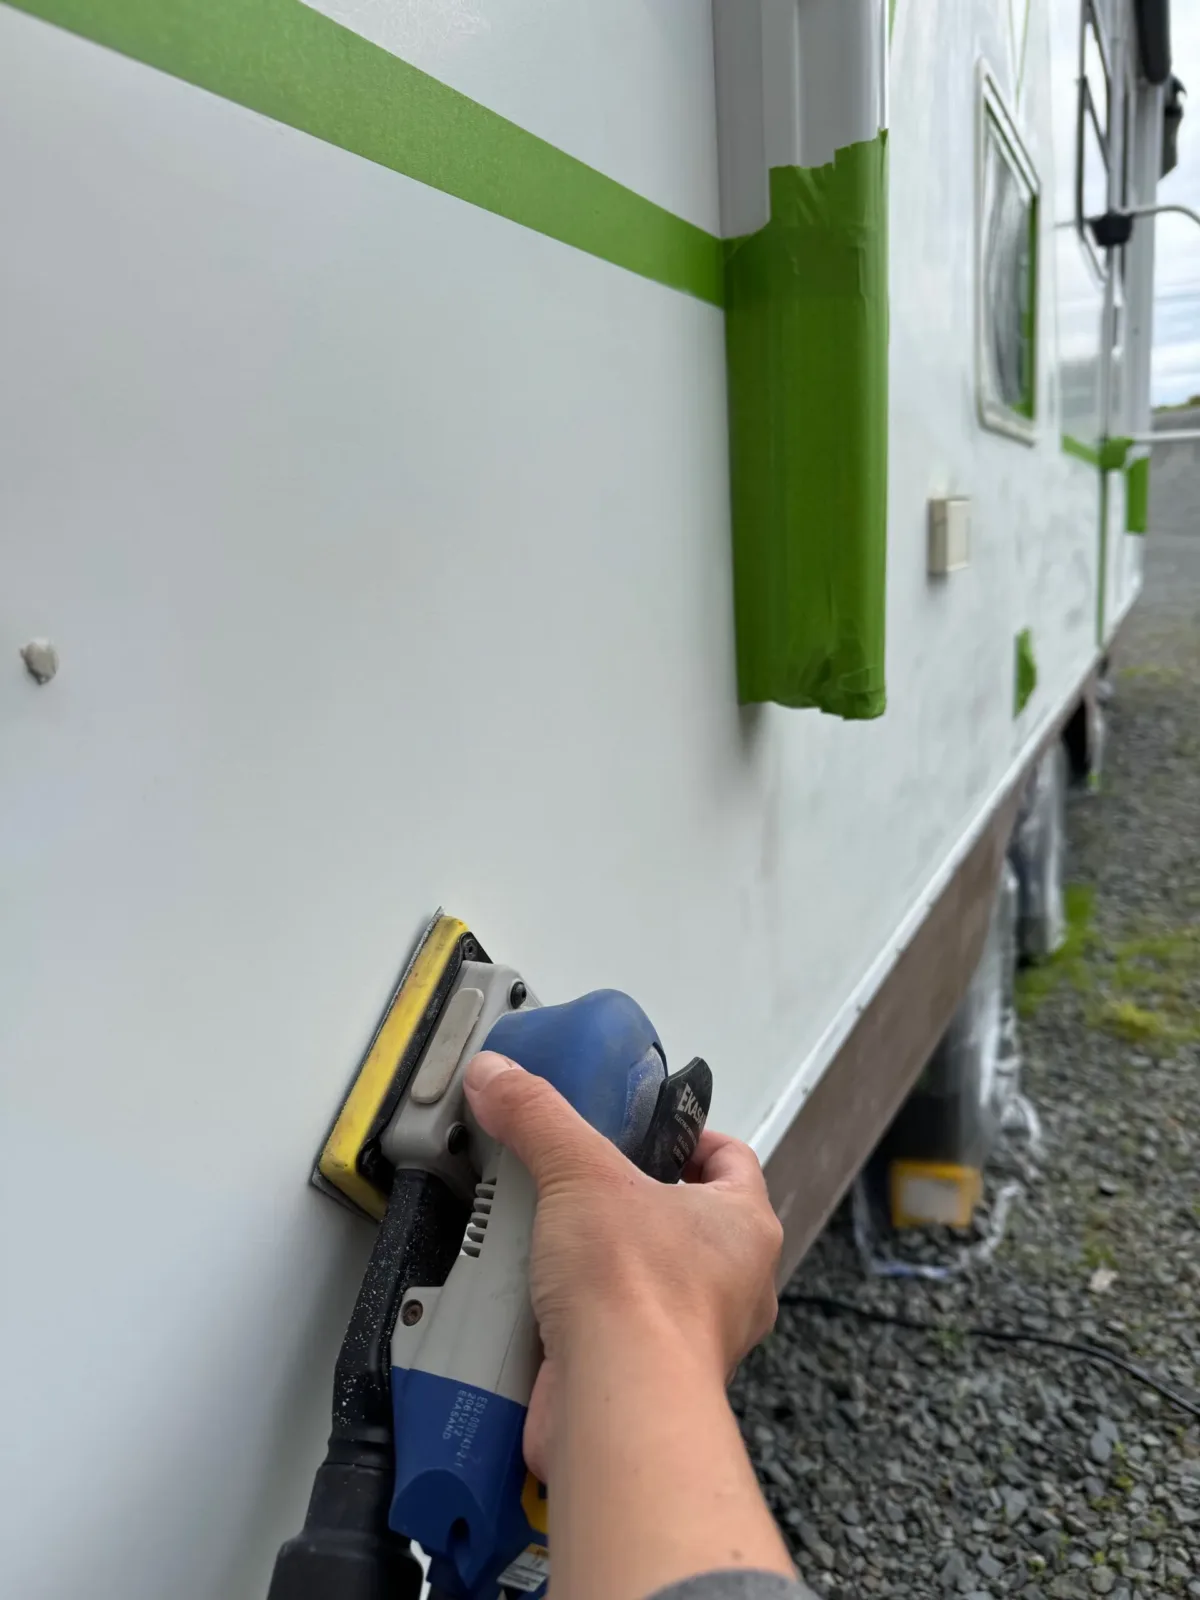
Sand
Once everything is taped off, it’s time to prep the surface for paint.
Use 320-grit sandpaper or a sanding block to lightly scuff all areas you plan to paint. The goal here isn’t to remove layers—just to dull the glossy finish and give the new paint something to grip onto.
Take your time and work evenly across the surface. This step is key for helping Dupli-Color paint (or any automotive paint) stick properly and giving you a smooth, long-lasting finish.
Tip: Wipe away sanding dust with a clean microfiber cloth as you go—it’ll keep your surface clean and help you spot any areas you missed.
Step
Clean
After sanding, it’s important to thoroughly clean the surface before you start painting.
-
Wipe down the exterior with acetone and a microfiber cloth to remove any oils, grease, or residue that could prevent the paint from sticking.
-
Go over the surface again with a damp microfiber cloth to pick up sanding dust.
-
Finish with a tack cloth to catch any remaining particles for a clean, paint-ready surface.
Tip: Make sure the surface is completely dry before moving on to primer. Any leftover moisture can mess with adhesion.
Step
Apply Primer
With your surface clean and prepped, it’s time to apply the primer. Using a paint sprayer, apply a light, even coat to all areas you plan to paint. Primer creates a smooth, uniform base and helps the paint stick properly.
Important: Avoid painting in direct sunlight, on windy days, or when dust is in the air—these conditions can affect how the primer dries and can lead to a rough or uneven finish.
Sprayer Technique Tips:
-
Maintain a wet edge to avoid lap marks between passes
-
Use smooth, horizontal strokes for even coverage
-
Keep the sprayer level and upright—no tilting
-
Hold the nozzle 10–12 inches away from the surface
Let the primer dry fully according to the manufacturer’s instructions before moving on to paint.
Step
Apply Base Color
Now it’s time to bring your RV’s new look to life! Using a paint sprayer, apply the base color in smooth, even passes. For the best results, follow these steps:
- Spray the First Coat:
Apply a light, even layer using steady, horizontal strokes. Keep the sprayer about 10–12 inches from the surface and maintain a wet edge to avoid lap marks.
Let the paint dry completely according to the manufacturer’s instructions. - Lightly Scuff the Surface:
Once the first coat is dry, gently scuff the painted surface with a scuff pad. This helps the next coat stick better and smooths out any small imperfections. - Clean the Surface:
Wipe everything down with a clean, damp microfiber cloth to remove any dust. Then use a tack cloth to pick up any remaining particles. - Apply Additional Coats:
Apply a second coat using the same technique. If the paint still looks uneven after drying, repeat the scuffing and cleaning process, then apply a third coat if needed.
Most RV exteriors will need 2–3 coats for a smooth, even finish—especially if the original surface was faded or patchy.
Step
Apply Clearcoat
Once your final coat of paint is completely dry, it’s time to seal and protect your work with a clear topcoat.
Using your paint sprayer, apply 2–3 light, even coats of clear coat over the entire painted surface. This final layer gives your RV a glossy, finished look and helps protect the paint from UV rays, chipping, and fading.
Let each coat dry completely according to the product instructions before applying the next. One coat may do the trick, but adding a second or third will give you a more durable finish—especially if your RV will be parked outdoors.
Tip: Clear coat dries fast—so avoid spraying too heavily or going over the same spot too many times, which can cause runs or cloudiness.
Step
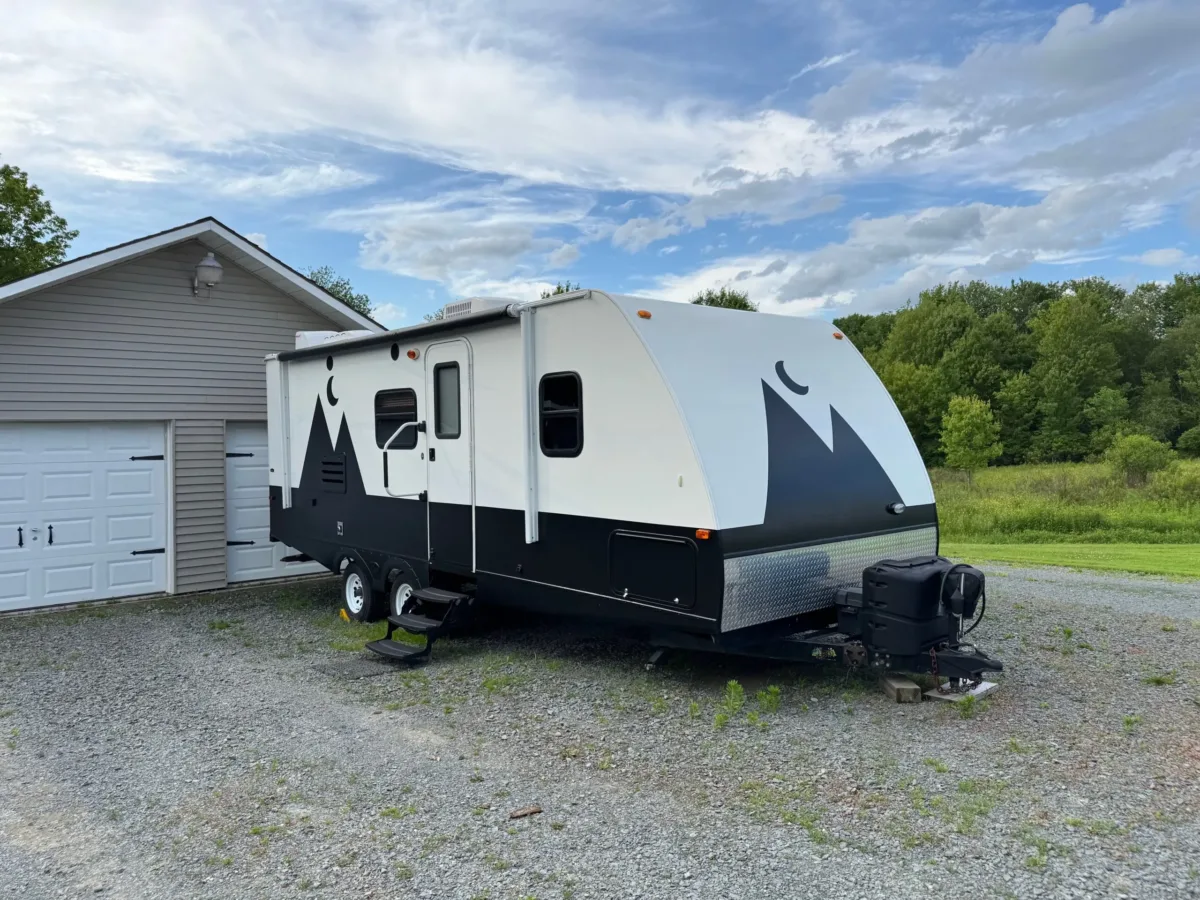
Final Touches
You did it! Now it’s time to wrap things up and enjoy your freshly painted RV exterior.
Remove Tape & Masking
Carefully peel off all painter’s tape and masking film. Take your time to avoid pulling up any fresh paint, especially around edges.
Reinstall or Replace Accessories
If you purchased new exterior accessories—like water fills, vents, or cord covers—now’s the time to install them.
-
Apply butyl tape to the back
-
Attach with the correct screws
-
Seal the edges with 3M 5200 sealant for a long-lasting, watertight finish
I also recommend resealing any exterior seams or joints for added protection from water and weather.
Reinstall Storage Hatch Doors
If you removed the storage hatch doors, apply a new foam gasket to the frame and slide the doors back into place.
Buff for a Polished Finish
Once the paint is fully cured (follow the timeline on your Dupli-Color or chosen product), you can buff the surface to enhance the shine and give it a clean, professional look.
Tip: Wait until the paint is fully cured before buffing—rushing this step can dull or damage your finish.
There you have it, 10 easy steps to paint an RV exterior!
Remember to properly prep the exterior surface so that the paint has something to adhere to. Go slow and do it right so you don’t have to do it again next season.
How to Protect Your RV’s Exterior from UV Damage
Now that your RV is freshly painted and looking brand new, you’ll want to keep it that way. The sun’s harsh UV rays can quickly fade decals and dull your paint job if you’re not careful. Fortunately, a few simple habits can go a long way in protecting your finish.
Tips to Keep Your RV Looking Its Best:
- Wax your RV regularly to protect the paint and boost shine
- Park in the shade whenever possible
- Use a high-quality RV cover or store it indoors during off-season months
That’s It—10 Easy Steps to Paint Your RV Exterior!
Taking the time to prep your surface properly and follow each step carefully makes all the difference. Go slow, stay patient, and do it right the first time—so you don’t have to redo it next season.
Enjoy the ride and that fresh new finish!