The Complete Used RV Inspection Checklist
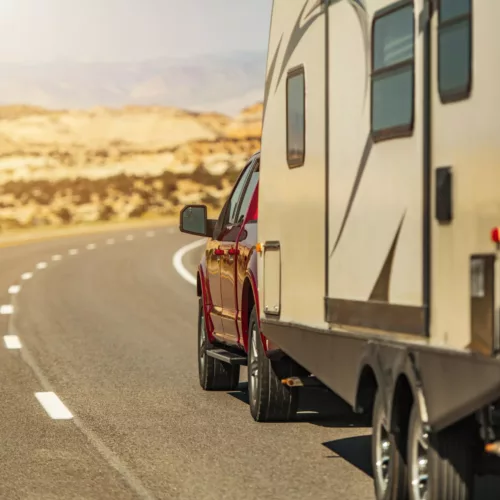
Depending on your personality, you may love or hate making a big purchase. It can be both an exciting and stressful time when making any significant acquisition, and shopping for an RV is no exception. Campers can cost anywhere from tens to hundreds of thousands of dollars. That’s a huge investment! To give you peace of mind, check out this complete used RV inspection checklist.
By purchasing a used RV, you can save yourself a pretty penny. But shopping for pre-owned vehicles comes with a whole other level of stress. There are plenty of rigs out there that have been properly maintained and cared for that would make a great addition to the family. Unfortunately, there are also plenty of used recreational vehicles for sale that aren’t worth their sale price.
That’s why it’s essential for you to do a full self-inspection of any used RV before making your final decision. With a thorough inspection, you will limit the likelihood of having major issues down the line. Remember, you can renovate the visual appearance, but a solid foundation is key! Check out our ultimate checklist for buying a used RV to save yourself some major headaches down the road.
Preparing for an RV Inspection
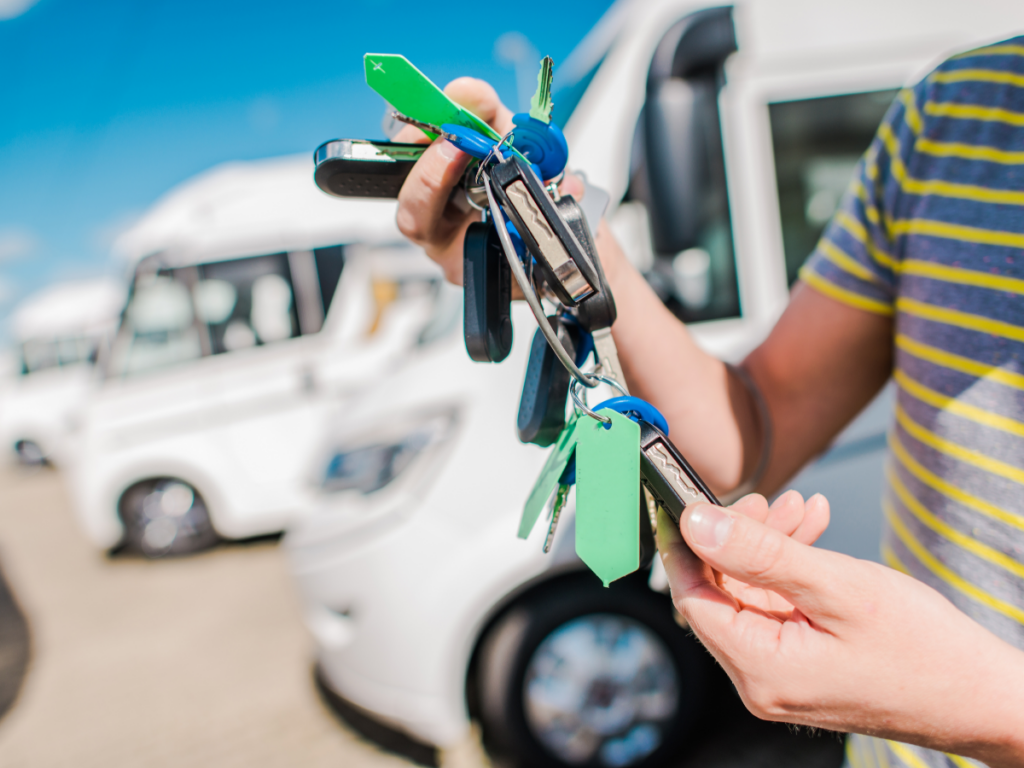
After narrowing your options, you’ve found a camper that you really like, and you’re almost ready to make an offer. What’s next? Inspection time. You can do hours of research on proper inspections, but when it comes to the day of, it’s so easy to forget your plan. To prepare for this, you can print out the RV inspection checklist to bring with you the day of. It’s a good idea to read through the list a few times before you head to see your potential rig so you know how to inspect an RV.
In addition to a checklist and pen, some other items you may want to bring with you to the inspection include:
- A flashlight
- Tire pressure gauge
- Toolbox (complete with screwdrivers and pliers)
- Gloves
- Multimeter
- Electric Outlet Tester
- USB Outlet Tester
Start With the Specs
First, let’s start with something easy. You’ll want to make a note of the RV’s specs, tank capacities, dimensions, and weight. This information should be easy to find in the owner’s manual but be sure to confirm during the inspection. Writing down these specs will make it easier for you to compare to other similar RVs.
- Make/Model
- Year
- Mileage
- Asking Price
- Width
- Height
- Weight
- Tank Capacities – Fuel, propane, freshwater, greywater, and black water
On top of noting these basics, you should check to see what paperwork or documentation comes with the RV. Ideally, it should have an up-to-date owner’s manual and service records.
Back to the Basics
Throughout the whole inspection, there are certain red flags to look for or areas to take a closer look at. Water damage is one thing you will want to keep your eyes open for. Water stains from a leak, either from the plumbing or outside, can be an issue.
Other red flags that are easily spotted visually include rotting wood or signs of bugs or rodents. Be sure to inspect all seals and edges closely, as well as check for cracks or sketchy repair jobs.
Some issues are bound to come up when checking out a used RV. The key point of the inspection is figuring out how serious these issues are and how difficult or expensive they are to repair.
If you see any of these red flags, try to locate the source of the issue so you can get a good sense of what is required to fix the problem.
The Complete RV Inspection Checklist
Whether you’re inspecting a 5th wheel, motorhome, or travel trailer, this RV inspection checklist covers all the necessary points that you should be looking at in your potential purchase. This RV checklist covers three areas: the exterior, the interior, and the RV’s systems.
Inspecting the RV’s Exterior
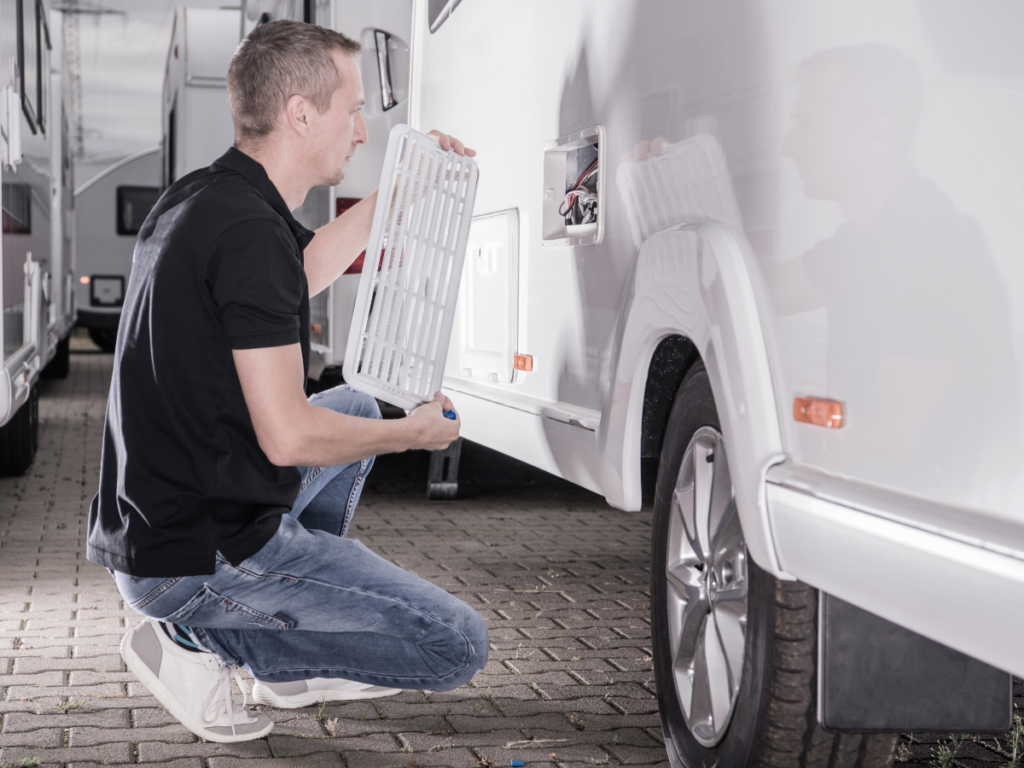
Start your used RV inspection by evaluating the exterior. Anything that is meant to move should be tested to make sure all hinges, slideouts, awnings, and lights are functioning properly.
- Windows and sidewalls: Look for cracks or discoloration and examine all the seals to make sure no moisture can enter.
- Steps and ladders: Make sure the ladder is properly secured and has no movement. Steps should be opened and closed to make sure movement is easy and secure, whether manual or motorized.
- Awnings and storage: Test to make sure the awning can open and close as designed, and while it’s open, examine the material for any issues.
- Storage doors should be opened and closed to make sure they function properly, stay open, and lock properly.
- Check lighting, seals, and lining for damages.
- Slideouts: Slide and retract any slideouts while checking for water damage and poor seals.
- Lights: You will need to connect the rig to a tow vehicle to make sure the umbilical cord functions properly. All DOT lights should function properly when activating the lights on the tow vehicle.
- Tires and rims: Check rims, suspension, axles, brakes, and pads for proper usage from the previous owner. Anything bent or rusty deserves a closer look.
- Examine the remaining tread and PSI of the tires.
- Hitch: Look to see if all towing materials are present, in good condition, and operate smoothly.
- Stabilizer Jacks: Test to guarantee that the electronic jack system and auto-leveling feature are functioning properly.
Inspecting the RV’s Interior
Once you’ve looked over the exterior, it’s time to head inside. Keep your eyes open for abnormal wear and tear and any discoloration that looks like water damage. Pay attention to any smells you encounter that may be red flags, such as mildew or smoke.
- Windows and doors: Look for cracks or discoloration and examine all the seals on the interior as well.
- Make sure all windows and doors open and close without issue. (RV windows are a critical fire safety feature).
- Furniture: Check the quality of the furniture, make sure there is no major damage, and that all pieces are accounted for. Make sure that any parts that fold or life are working properly.
- Walls and ceiling: Look for apparent damage or cracks. Examine all the seals as well as lights, vents, ducts, and fans.
- Flooring: Look for loose flooring, being sure to closely check gaps around slideouts.
- Kitchen: Open and close all cabinet doors and drawers, ensure all hardware is present, and that nothing will move during transport.
- Examine all kitchen appliances for functionality.
- RV control panel: Guarantee that all indicators and functions work properly.
- The Cab: Check out the steering wheel, dashboard, transmission, lights, and gauges.
- Make sure that the locks and windows are operating correctly.
- Verify that the brakes and emergency brake are working.
Inspecting the RV’s Systems:
- Electric: Test both the AC and DC power outlets and make sure that all of the RVs appliances are running properly.
- Make sure all the lights in the rig are inspected.
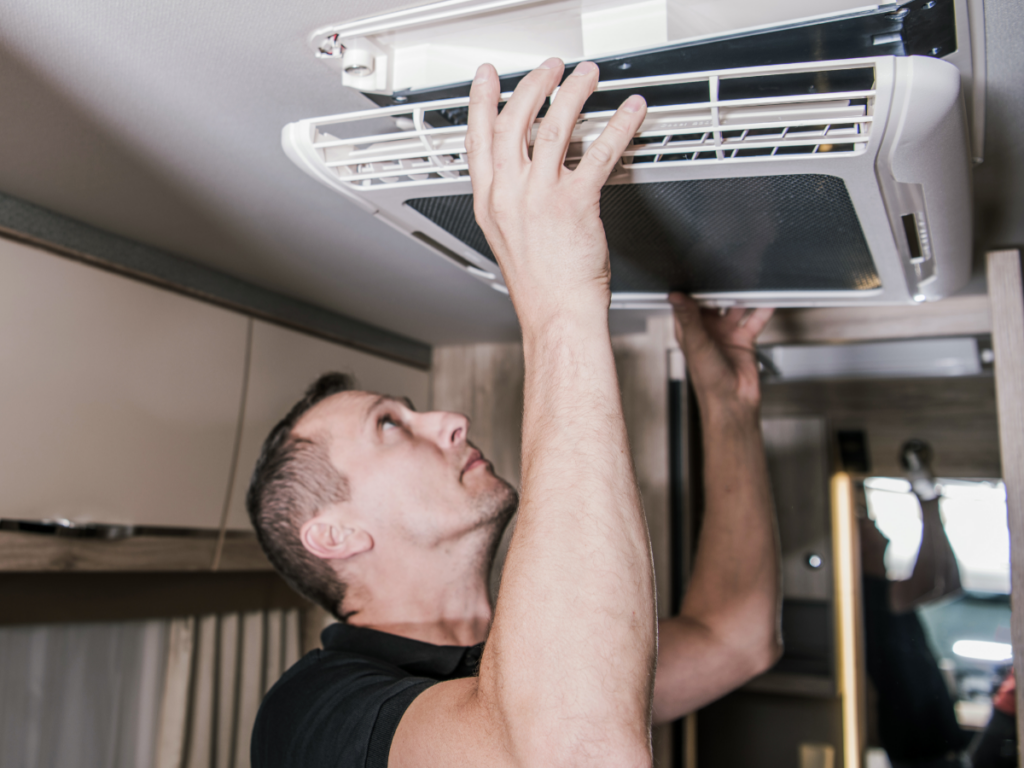
- Make sure all the air conditioners are exiting cold air.
- Plumbing: Examine the entire RV for leaks by filling the freshwater tank and turning on faucets.
- Ensure that the toilet flushes, the drains empty quickly and that gauges are accurate.
- Propane: Make sure there are no leaks when turning the gas on, then check all appliances that operate with propane.
- Engine: Check levels and potential leaks for all fluids.
- Make a visual examination for loose hoses or belts, faulty wiring, cracks, or other significant damage.
- Generator: Start the generator to hear how loud it is, give it a visual inspection, and make sure the specs are sufficient for your use.
When to Consider a Professional
A self-inspection is a great start when looking to buy a used RV, but there are certain times when you might be better off with the help of a professional. If you encounter some issues but are getting a good price and considering renovating the rig by yourself, consulting a professional to get a solid idea of the extent of repairs will be very beneficial and help you from encountering major costs during renovations.
If you’re interested in an RV from another state and can’t travel to see it, you can hire a professional to do the inspection for you. Make sure to hire someone trustworthy that has no interest in the sale.
Lastly, if you simply feel like you lack the knowledge or know-how to inspect a travel trailer (even with an RV inspection checklist), there is no harm in seeking help from an experienced RV technician.
Ready to renovate? Check out the renovation expense reports to build your own budget: